How to Install Rocket Chat on CentOS 7
In this tutorial, we will guide you, how to install Rocket Chat on CentOS 7. Before moving forward you should put a proper hostname for your server. After that please check that your server should have a static IP with a full internet connection. Today digital world moving from real to virtual. Implement your chat server today to make your office paperless.
Install the Prerequisite and Dependencies for Rocket Chat
- To install CentOS 7, see the CentOS Installation Instructions.
To check the CentOS version
#cat /etc/redhat-release

- After the system is installed, make sure that it’s up to date with the most recent security patches. Add the epel repository and update everything.
#yum -y install epel-release nano && yum -y update
It will take some time to update and also install the nano text editor tools for file editing.
- Now We will create a yum repository to install mongo db
# nano /etc/yum.repos.d/mongodb.repo
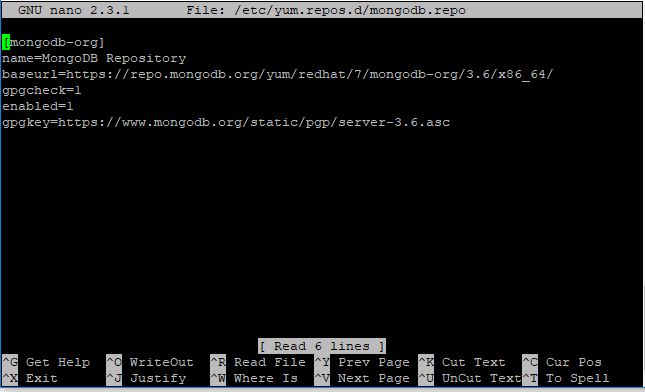
Insert the desired YUM Repository options to the newly created YUM Repository configuration file and save changes. To save the file Ctrl+o and Ctrl+x
- To install the all dependencies for the Rocket Chat run the bellow command
# yum install -y nodejs curl GraphicsMagick npm mongodb-org-server mongodb-org gcc-c++
It will take some time to install all the packages.
- Then we need to install some more dependencies through NPM package manager for the node.js
# npm install -g inherits n
- The recommended Node.js version for using Rocket Chat is 9.3. Using n we are going to install that version
# n 8.9.3
Setup Mongo DB
Now we will bring up the Mongo DB and make it as start-up service
# systemctl start mongod
# systemctl enable mongod
Rocket Chat and Install
- Change the Directory
#cd /opt
- Now Download the Rocket Chat
# curl -L https://releases.rocket.chat/latest/download -o rocket.chat.tar.gz
3. Unzip the tar file and move as Rocket.Chat
#tar zxvf rocket.chat.tar.gz
# mv bundle Rocket.Chat
# cd Rocket.Chat/programs/server
4. Now Install the Rocket Chat using the NPM package manager
# npm install now change the Directory
#cd ../..
Now the installation is complete. Now you have go to the installation folder /opt/Rocket.Chat and set the PORT, URL and Database.
# export PORT=3000
#export ROOT_URL=http://<your IP/host name>:3000/
#export MONGO_URL=mongodb://localhost:27017/rocketchat Rocket Chat installation is complete now.
- To Verify the Rocket Chat installation run the below command
#node main.js
Now open browser from other computer try to access your URL
URL: http://<your IP/host name>:3000/
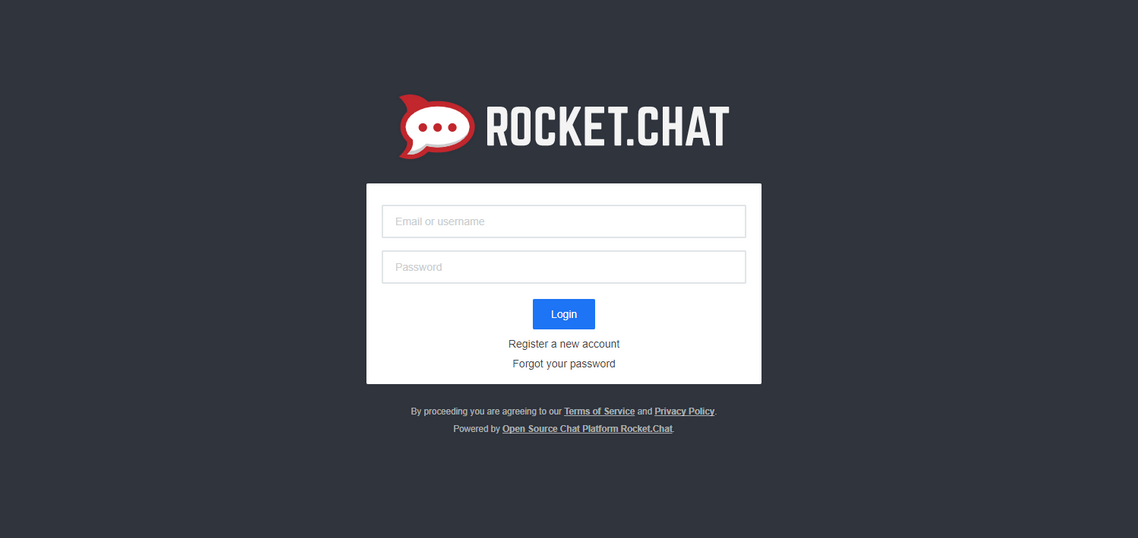
Now you are connected with your Chat server, Now click on “Register a new account”

Set your User name, Password, and Email and click submit, you will be prompted to select a username. I selected admin. Click USE THIS USERNAME to continue.
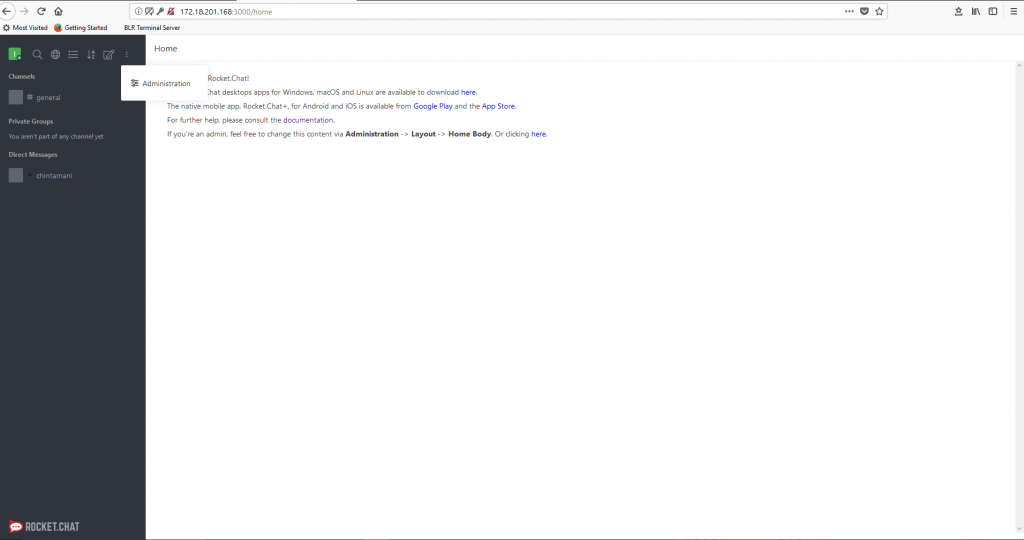
Now you are login as an administrator and you are ready to use the Rocket Chat on CentOS 7.
Configure Rocket Chat as a service
Go back to the server and press Ctrl+c to stop the Rocket chat. Now we will create a service for Rocket Chat.
- Create service file for rocket chat
#nano /usr/lib/systemd/system/rocketchatd.service
- Write the below line in that file
[Unit]
Description=The Rocket.Chat server
After=network.target remote-fs.target nss-lookup.target nginx.target mongod.target
[Service]
ExecStart=/usr/local/bin/node /opt/Rocket.Chat/main.js
StandardOutput=syslog
StandardError=syslog
SyslogIdentifier=rocketchat
User=root
Environment=MONGO_URL=mongodb://localhost:27017/rocketchat ROOT_URL=http://<your IP/host name>:3000/ PORT=3000
[Install]
WantedBy=multi-user.target
To save the file Ctrl+o and Ctrl+x
- Now start the service and enable Rocket Chat as Start Up service
# systemctl start rocketchatd
# systemctl enable rocketchatd
Now you can create user from doing the admin login into the browser.
Above all the steps describe how you can install Rocket Chat. This is a basic installation guide Rocket Chat on CentOS 7. You can also install an SSL certificate for the web application. If you have any question you can comment here. We will be happier to help you.
About The Author